Kimchi Cheddar Grilled Cheese Recipe
Introduction
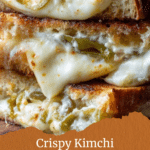
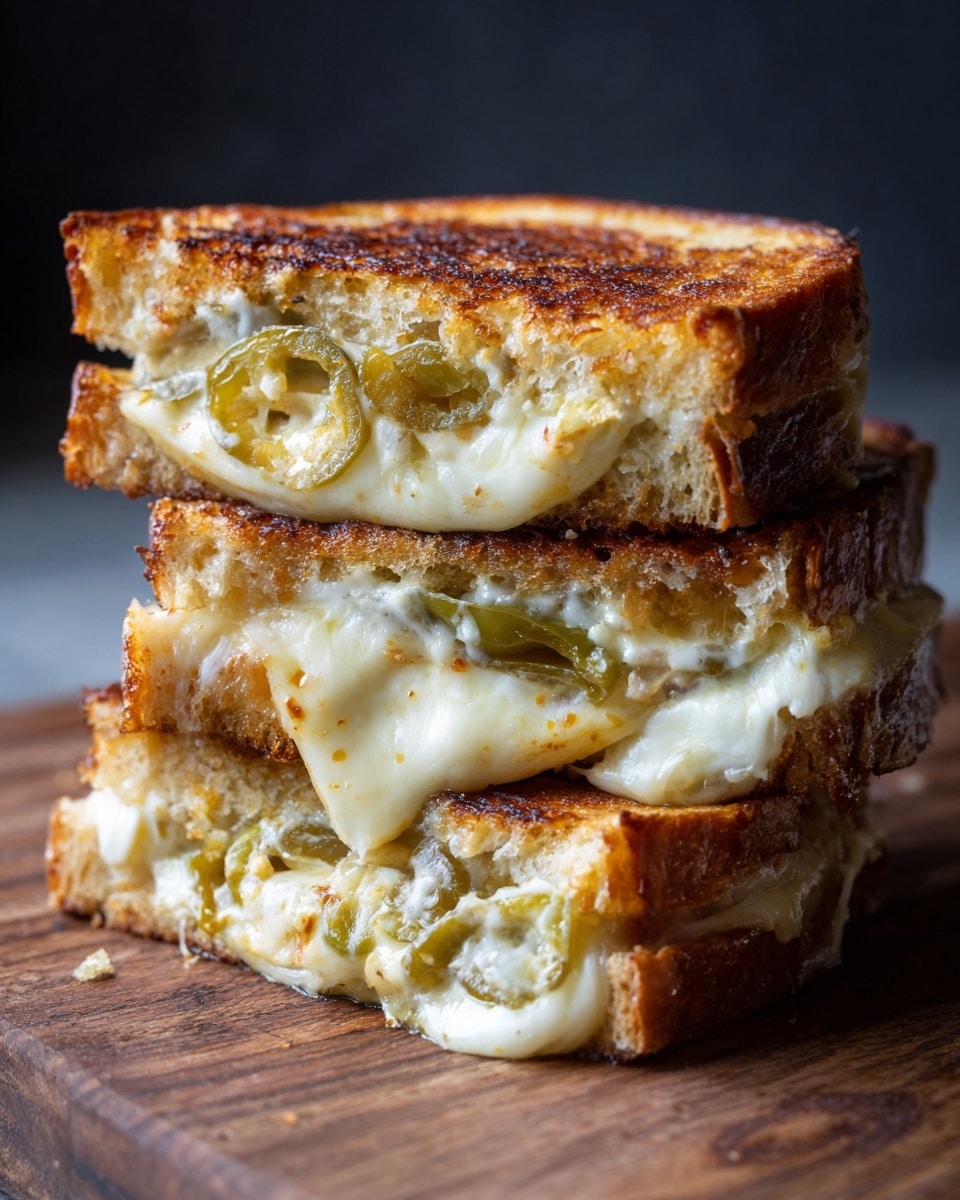
The Kimchi Cheddar Grilled Cheese is a delightful twist on a classic comfort food. The sharpness of cheddar pairs beautifully with the tangy, spicy flavor of kimchi to create a sandwich that’s crispy, savory, and full of bold taste.
Ingredients
- 2 slices of bread
- 1/2 cup shredded cheddar cheese
- 1/4 cup well-drained kimchi, chopped
- 2 tablespoons butter
Instructions
- Step 1: Butter one side of each slice of bread. On the unbuttered side of one slice, layer the cheddar cheese and chopped kimchi evenly.
- Step 2: Top with the other slice of bread, buttered side facing out. Heat a skillet over medium heat and grill the sandwich until the bread is golden and crispy, and the cheese has melted, about 3-4 minutes per side.
Tips & Variations
- Make sure to drain and chop the kimchi well to avoid excess moisture that can make the bread soggy.
- Use a mix of sharp and mild cheddar for a balanced cheesy flavor.
- Try adding a thin layer of mayonnaise or mustard inside for added richness and tang.
- For a vegetarian option, use vegan butter and cheese alternatives.
Storage
Kimchi cheddar grilled cheese tastes best fresh, but you can store leftovers wrapped tightly in foil or an airtight container in the refrigerator for up to 2 days. Reheat in a skillet over low heat to restore crispiness, or use a toaster oven at 350°F (175°C) for about 5 minutes.
How to Serve
Serve this delicious recipe with your favorite sides.
FAQs
Can I use other types of cheese?
Yes, cheeses like Monterey Jack, mozzarella, or gouda work well and complement the kimchi’s tangy flavor.
Is kimchi spicy?
Kimchi varies in spiciness depending on the recipe. If you prefer less heat, choose milder kimchi or rinse it briefly before using.
PrintKimchi Cheddar Grilled Cheese Recipe

A deliciously tangy and crispy Kimchi Cheddar Grilled Cheese sandwich that combines the sharpness of cheddar cheese with the bold, fermented flavors of kimchi, melted between buttery toasted bread slices.
- Prep Time: 5 minutes
- Cook Time: 8 minutes
- Total Time: 13 minutes
- Yield: 1 sandwich 1x
- Category: Sandwich
- Method: Frying
- Cuisine: Korean-American fusion
Ingredients
Bread
- 2 slices of bread (white or sourdough recommended)
Cheese
- 2 to 3 slices of cheddar cheese (about 2 ounces)
Condiments
- 2 to 3 tablespoons kimchi, drained and chopped
Others
- 1 to 2 tablespoons butter, softened
Instructions
- Prepare Ingredients: Gather all the ingredients: bread, cheddar cheese, kimchi, and butter. Drain and chop the kimchi into small pieces to ensure even flavor distribution.
- Assemble the Sandwich: Butter one side of each slice of bread evenly. On the non-buttered side of one slice, layer the cheddar cheese slices, then spread the chopped kimchi evenly on top. Place the other bread slice on top with the buttered side facing out.
- Grill the Sandwich: Heat a skillet or frying pan over medium heat. Place the assembled sandwich in the pan and cook until the bread turns golden brown and crispy, about 3 to 4 minutes. Carefully flip the sandwich using a spatula and grill the other side until it’s equally golden and the cheese is fully melted, another 3 to 4 minutes.
- Serve: Remove the sandwich from the skillet. Let it rest for a minute, then slice in half diagonally for easier eating. Serve immediately while warm and gooey.
Notes
- Drain the kimchi well to avoid making the sandwich soggy.
- Use a good melting cheddar cheese for best results.
- Adjust the amount of kimchi to suit your spice and tang preference.
- Use medium heat to allow the cheese to melt before the bread burns.
- Optional: Add butter on top of the sandwich before grilling for extra crispiness.
Keywords: kimchi grilled cheese, cheddar cheese sandwich, Korean fusion sandwich, crispy grilled cheese