Decadent Brownie Ice Cream Cake Recipe
Introduction
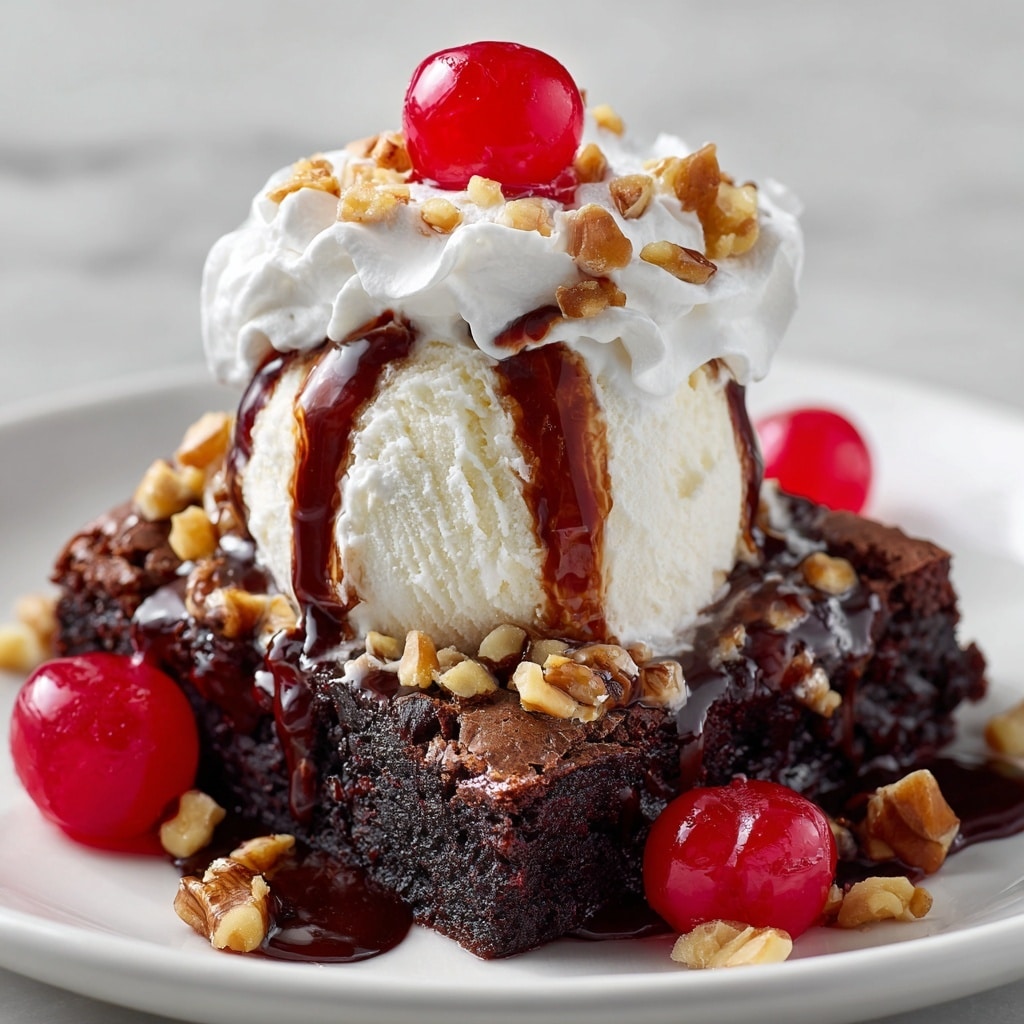
This Brownie Ice Cream Cake combines rich, fudgy brownies with creamy ice cream and decadent chocolate sauce for the ultimate dessert. It’s an easy, no-bake treat that’s perfect for warm days or special occasions.
Ingredients
- Brownies, enough to form one layer
- Ice cream, your favorite flavor, softened
- Chocolate sauce, for drizzling
Instructions
- Step 1: Place a layer of brownies at the bottom of a cake pan or springform pan.
- Step 2: Spread a layer of softened ice cream evenly over the brownies.
- Step 3: Repeat layering if desired, ending with ice cream on top.
- Step 4: Drizzle chocolate sauce over the top layer.
- Step 5: Freeze the cake until firm, at least 4 hours or overnight.
- Step 6: Slice and serve chilled.
Tips & Variations
- Use a variety of ice cream flavors for a colorful, layered effect.
- Swap chocolate sauce for caramel or raspberry sauce for a fruity twist.
- Line the pan with parchment paper for easy removal of the cake.
Storage
Store the brownie ice cream cake in the freezer, covered tightly with plastic wrap or in an airtight container. It will keep well for up to one week. To serve, let it sit at room temperature for 5–10 minutes to soften slightly before slicing.
How to Serve
Serve this delicious recipe with your favorite sides.
FAQs
Can I use store-bought brownies and ice cream?
Yes, using store-bought brownies and ice cream saves time and works perfectly for this recipe.
How do I prevent the ice cream from melting while assembling?
Keep the ice cream in the freezer until just before spreading and work quickly to keep it from melting too much during assembly.
PrintDecadent Brownie Ice Cream Cake Recipe

This Brownie Ice Cream Cake is a delectable no-bake dessert featuring rich, fudgy brownie layers combined with creamy ice cream and topped with luscious chocolate sauce. Perfect for celebrations or a sweet treat on warm days, it requires minimal effort and freezes to a firm, sliceable cake.
- Prep Time: 20 minutes
- Cook Time: 30 minutes (if baking brownies from scratch)
- Total Time: 4 hours 50 minutes (including freezing time)
- Yield: 8 servings 1x
- Category: Dessert
- Method: No-Cook
- Cuisine: American
Ingredients
Brownie Layer
- 1 batch of fudgy brownies, cooled and cut to fit your cake pan (about 9x9 inches)
Ice Cream Layer
- 1.5 quarts (6 cups) of your favorite ice cream, slightly softened
Topping
- 1/2 cup chocolate sauce, warmed slightly for drizzling
Instructions
- Prepare the Brownie Base: Bake or use store-bought brownies and allow them to cool completely. Cut the brownies to fit the bottom of your cake pan evenly to form the base layer of the cake.
- Layer the Ice Cream: Spread the softened ice cream evenly over the brownie base, smoothing the top with a spatula. Make sure the ice cream layer is thick enough for a balanced ratio between the brownie and ice cream.
- Freeze Until Firm: Place the layered pan into the freezer and freeze for at least 4 hours or until the ice cream is completely solid and the cake is firm.
- Add the Chocolate Sauce: When ready to serve, drizzle the warmed chocolate sauce generously over the top of the brownie ice cream cake for added flavor and richness.
- Slice and Serve: Use a sharp knife warmed in hot water to slice neat pieces. Serve immediately and enjoy the layers of chocolatey brownie and creamy ice cream.
Notes
- Ensure brownies are fully cooled before adding ice cream to prevent melting.
- Slightly soften ice cream for easier spreading but avoid melting.
- The cake can be stored in the freezer covered with plastic wrap for up to 1 week.
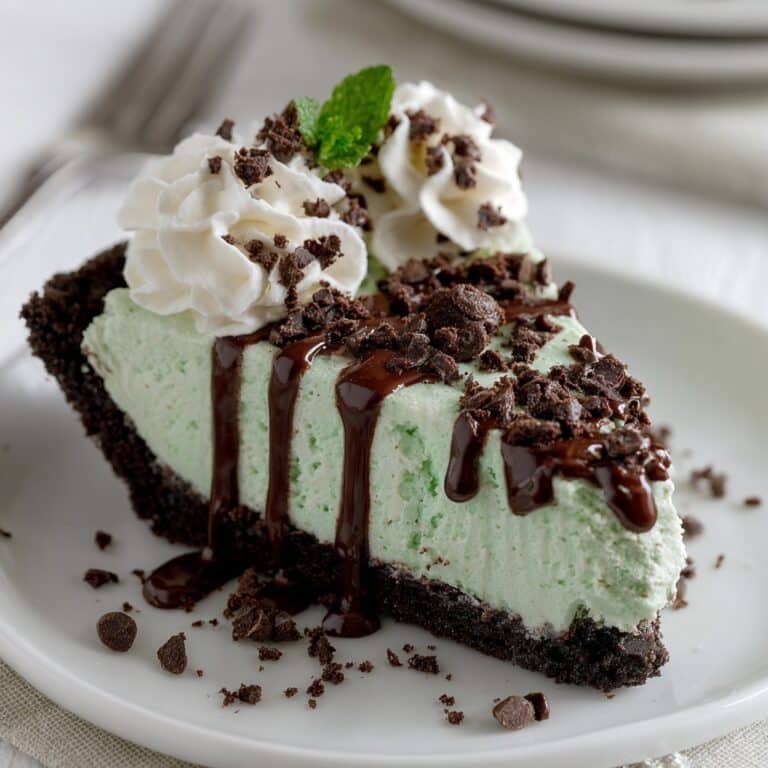
- Try using different ice cream flavors like mint chocolate chip or caramel for variety.
- Chocolate sauce can be homemade or store-bought for convenience.
Keywords: brownie cake, ice cream cake, no-bake dessert, chocolate, frozen dessert, easy dessert